As to my song, remind me ... ... uhm ... ... to buy some ear protection BEFORE I use the Dremel on Optix ... or any other hard plastic - or plywood - or probably anything else ... ... ... my ears were still ringing . . . .
So this weekend yielded 2 new pieces of work . . . one was in plywood to check at least some of the procedures to make the eventual pick guard in wood. The problem is that I don't own a router. Not a problem for the outline of the guard, as long as the transitions are smooth a mm here and 1/32 there doesn't make a whole lot of difference . . . except when it come to where it fits the neck, defects there are - of course - quite obvious. So looking at the the spects for the Strat neck end . . . its rounded at a R = 5" with 0.25" transitions SO . . . . here's the jig . . .

5" from hole to cut . . . CHECK, the dremel circle guide does quite a nice job - hm don't see that one as a separate accessory, maybe you can only buy it in one of the kits . . . . here is a pick about half way through the cut

The main problem with this attachment though is that you can NOT see where you are actually cutting . . . thus the square acting as a stop ... turned out it was a little to far in . . . and the cut thus not quite as far as needed . . . .
A bit off . . . I sanded in the 0.25" transition by wrapping a 1/4" drill bit with some sand paper . . . SO what went wrong

Ah . . . it actually helps if you look at where things are SUPPOSED to be . . . the bottom side is not straight AND needs some more wood removed . . . .

Some judicious application of sandpaper ... et voilá ... not perfect but . . . .

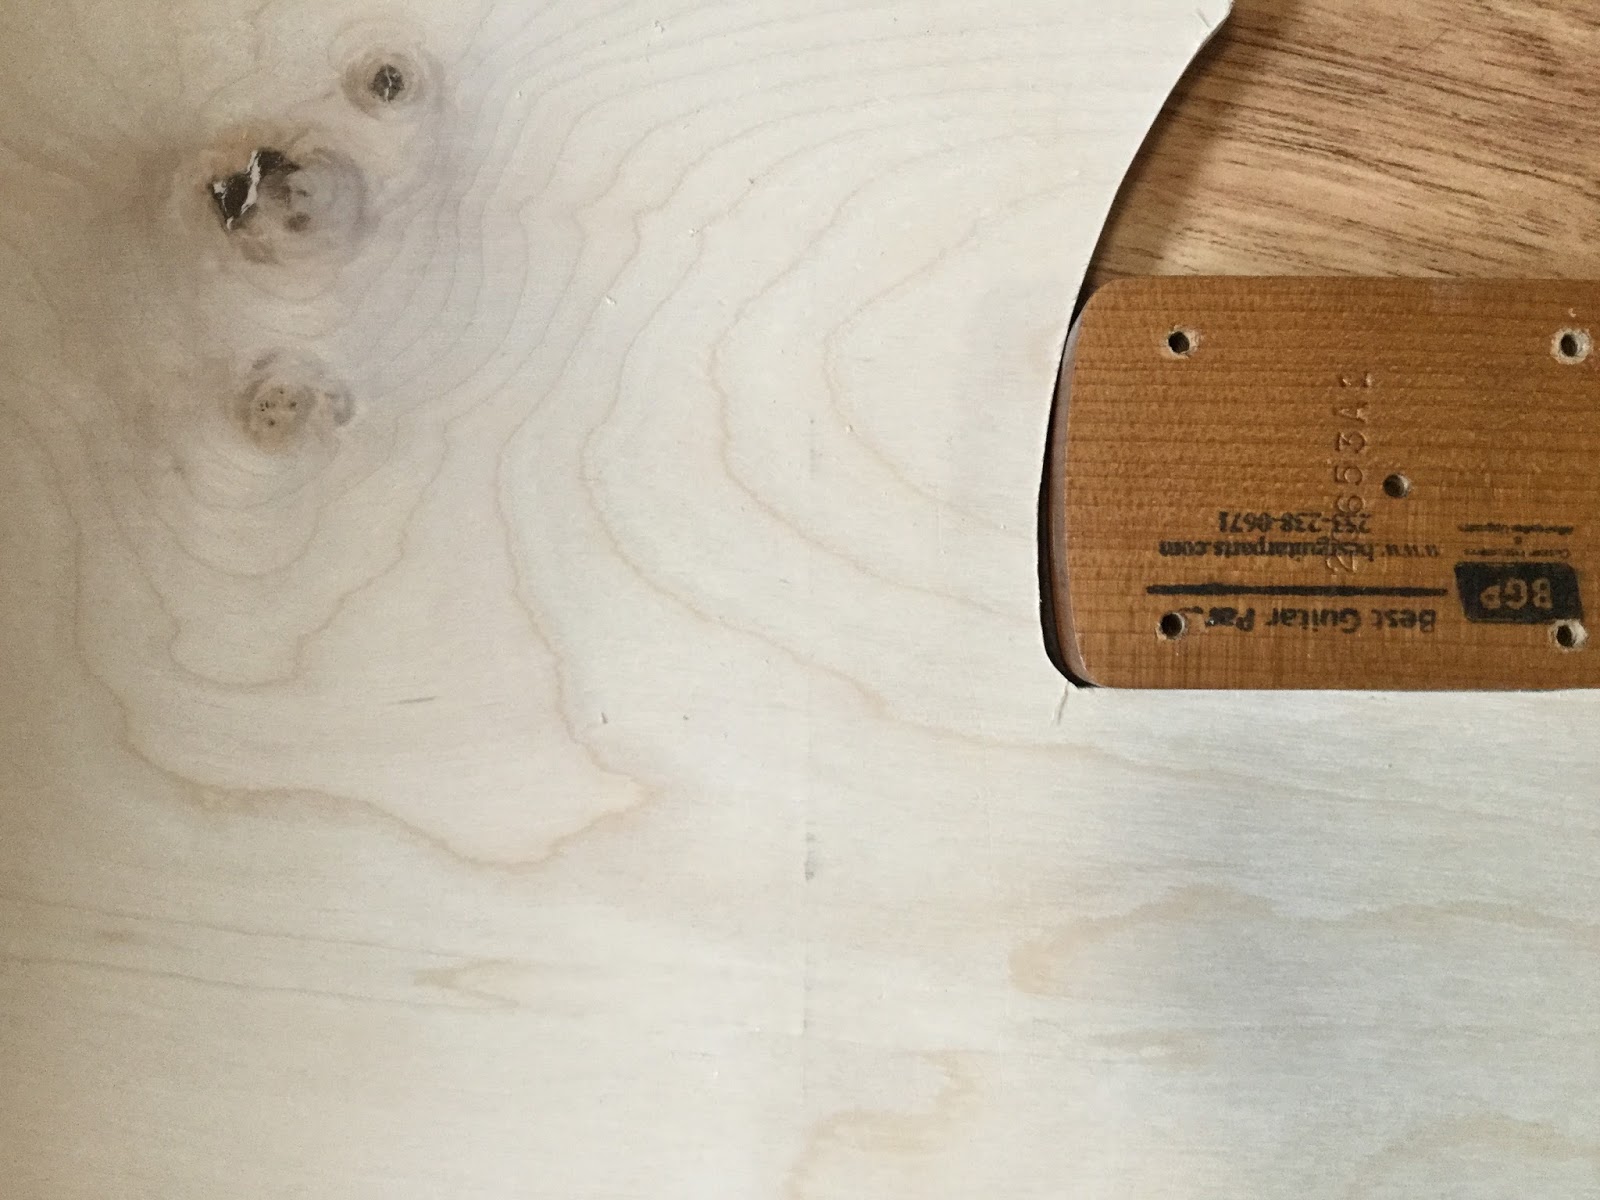
Looks good . . . . it's not perfect, there is NO transition at the bottom AT ALL, a JM pick guard has about 3/4 or more of the 1/4" transition intact before the guard goes off but it's hardly noticeable AND this in NOT a JM pick guard . . . and that's where I left that . . . (you can see the start of the neck pickup opening and the holes for the bridge pickup screws).
The second piece I worked on, well . . . . . here is the glue up of the eventual TOP (or left) part of the pick guard . . . ain't ratchet clamps great:


and at last the final connection

The material below the pieces of Wenge, Yellow Heart and Red Heart is wax paper, it works REALLY well for normal wood glue . . . which doesn't stick to it . . . much. The tight bond III is a bit more of an issue but it's MUCH easier to remove some pieces of paper than . . . oh . . . the work table . . . or something else large and heavy . . . . . . . and if you are trying to replicate this piece (or something similar), remember to glue 2 pieces together COMPLETELY - i.e. wait at least the minimum time recommended on the bottle - BEFORE glueing a 3rd piece to it, 1 (one) seam at a time . . . more than one is asking for trouble. And make sure the wood is 'stable' before starting, these pieces had been living in my drawer for about a year before I used them. It's a bummer when you use wood fresh from the store and it 'bends' . . . I had that happen with an Oak cutting board I made (and yes I know, Oak is't the preferred wood for that anyway) . . . "problematic" is one way to put the result. Oh and one more tip, when gluing exotic woods, ESPECIALLY when the surface area is small, degreasing is a MUST. The Red Heart was particularly troublesome in that regard, it needed quite a LOT of "wiping", keep working it until no more 'color' ends up on your paper towel, any organic solvent will work - and please do it outside, in an open door or at the VERY LEAST open a window WIDE and WEAR NITRILE GLOVES - Hexane would be my preference but it is possibly hard to come by, Acetone may be the best, but don't breathe it more than you ABSOLUTELY have too. Mineral spirits (or Coleman fuel) will work OK . . . Stay away from Xylene and MEK unless you KNOW that you KNOW what you are doing and your brain cells will thank you . . . .
 Stick the piece down (a layer of painters tape on the piece and a layer on the work surface . . . some super glue and everything stays put nicely without anything to inhibit the sanding) . . . use a LARGE sanding block so everything ends up nice and flat . . . make sure you are comfortable, put on some music, you'll be there for a while . . . and go to town . . .
So after about ~ 2 hours of sanding with 80 / 120 / 220 and 320 grit sandpaper (the back was only taken down to 120) we have ....
THIS

It obviously isn't a pick guard yet but it's getting there . . . . . . . . when it's finished the Yellow Heart will probably be almost golden nicely offsetting the black/dark brown of the Wenge and red (we'll have to see how red it actually will end up being) of the Red Heart.
POSTSCRIPT . . . Ah so that's what it is, the red isn't Red Heart after all, it's Padauk . . . . . . . memory, or rather lack thereoff . . . . . .
No comments:
Post a Comment